Raspberry Pi 5 as a Wi-Fi Router: A Beginner-Friendly Guide
Raspberry Pi 5 as a Wi-Fi Router: A Beginner-Friendly Guide
Meta Description
Frustrated with ISP-controlled router settings and limited network customization? Learn how a Raspberry Pi 5 can be transformed into a fully customizable home Wi-Fi router, offering greater control, unified Wi-Fi management, and hands-on networking experience.
Keywords
Raspberry Pi Wi-Fi router, Raspberry Pi 5 router, DIY Wi-Fi router, home network setup, customizable router, Raspberry Pi hotspot, replace ISP router, beginner Raspberry Pi project, unified SSID Wi-Fi, Raspberry Pi access point
For many households, the internet router provided by an ISP (Internet Service Provider) is simply accepted as part of the package. While these routers are generally designed for simplicity and ease of support, they can sometimes limit advanced customization and user control.
This guide explores how a Raspberry Pi 5 was transformed into a fully functional home Wi-Fi router, highlighting both the advantages and limitations of the setup in a beginner-friendly way.
Why Build a Custom Wi-Fi Router?
The project began after increasing frustration with the limitations of an ISP-managed router environment. In this case, the router supplied by Vox Telecom restricted certain network configurations, including Wi-Fi credential management and advanced customization features.
Tasks such as:
- Changing Wi-Fi settings
- Configuring port forwarding for gaming or self-hosted services
- Managing parental controls
- Troubleshooting advanced networking issues
often required contacting support channels and waiting for assistance.
Another concern involved the default Wi-Fi password configuration. The router used a cellphone number as part of the default wireless credentials, raising potential privacy and security concerns for users who prefer stronger control over network authentication.
The ISP router also separated wireless bands into two visible network names — one for 2.4GHz devices and another for 5GHz devices. While technically functional, this setup often created confusion for less technical users and smart home devices.
By moving to a custom Raspberry Pi-based setup, a single unified Wi-Fi network name could be used, allowing devices to automatically connect to the most suitable wireless band without manual switching.
For networking enthusiasts and advanced home users, building a custom router also removes the “black box” experience commonly associated with ISP hardware, providing greater transparency and control over the home network.
What Is a Raspberry Pi?
The Raspberry Pi is a compact, low-cost computer roughly the size of a credit card. Despite its small size, it is capable of running a full operating system and supporting a wide range of projects, including:
- Media servers
- Home automation systems
- Web servers
- Network monitoring tools
- Wi-Fi routers
The Raspberry Pi 5 offers improved processing power and networking performance compared to earlier models, making it suitable for lightweight home networking tasks and learning environments.
Understanding Some Networking Terms
Before diving into the setup, it helps to understand a few networking terms commonly used throughout the project.
ONT (Optical Network Terminal)
An ONT is the device installed by a fiber internet provider that converts the fiber-optic connection into a standard Ethernet connection used by home networking equipment.
SSID (Service Set Identifier)
An SSID is simply the visible name of a Wi-Fi network that appears when devices search for wireless connections.
Examples include:
- MyHomeWiFi
- OfficeNetwork
- GuestWiFi
AP (Access Point)
An AP is a device that broadcasts a Wi-Fi signal, allowing wireless devices such as phones, laptops, smart TVs, and gaming consoles to connect to the network.
DHCP (Dynamic Host Configuration Protocol)
DHCP is the service responsible for automatically assigning IP addresses to connected devices on a network.
DNS (Domain Name System)
DNS translates website names such as “google.com” into numerical IP addresses that computers use to communicate online.
How the Raspberry Pi 5 Was Turned Into a Wi-Fi Router
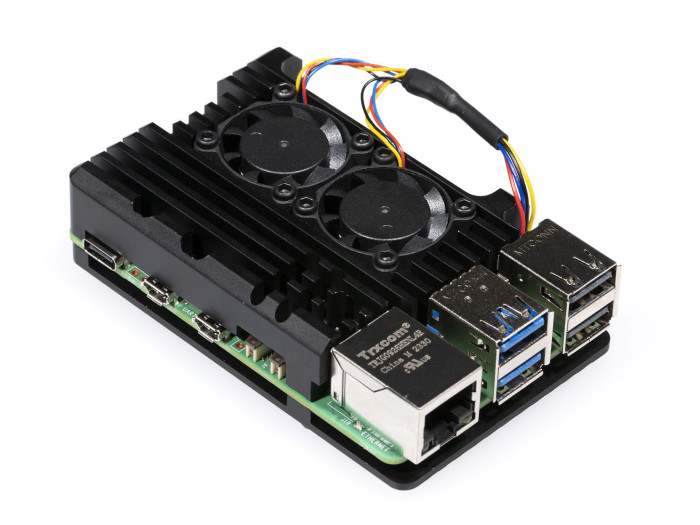
1. Hardware Setup
The Raspberry Pi 5 was connected directly to the fiber ONT using an Ethernet cable. This allowed the device to receive the internet connection directly from the ISP.
2. Software Configuration
After installing Raspberry Pi OS, the system was configured to operate in AP mode, effectively transforming the Raspberry Pi into a wireless hotspot capable of broadcasting its own Wi-Fi network.
Additional software was installed to handle:
- Routing
- DHCP services
- Firewall management
- Wireless broadcasting
3. Network Fine-Tuning
Like many DIY projects, the setup process involved troubleshooting and experimentation. Firewall rules, routing tables, and Wi-Fi configurations required careful adjustment before the system operated reliably.
Once fully configured, the Raspberry Pi router allowed immediate changes to passwords, guest networks, and advanced network settings without requiring ISP intervention.
Advantages of Using a Raspberry Pi Router
Full Network Control
Users gain direct access to advanced networking features, including:
- Port forwarding
- Guest network creation
- Firewall configuration
- DNS customization
- Device monitoring
- Parental controls
Changes can be applied immediately without relying on ISP support.
Simplified Wi-Fi Experience
Using a single Wi-Fi name for both 2.4GHz and 5GHz bands creates a cleaner and more seamless experience for connected devices throughout the home.
Advanced Monitoring
The setup allows detailed monitoring of connected devices and network traffic, offering visibility rarely available on standard ISP routers.
Content Filtering
Specific websites or online services can be blocked across the entire home network, which may be useful for households with children or productivity-focused environments.
Strong Wireless Coverage
In testing, the Raspberry Pi provided stable Wi-Fi coverage throughout the home without requiring additional wireless extenders or repeaters.
The Downsides to Consider
While the project was educational and highly customizable, several limitations became clear during long-term use.
Reduced Wi-Fi Performance
Wireless speeds were noticeably lower than the full speed available from the fiber connection. Streaming high-quality video or supporting multiple active users simultaneously could become challenging.
microSD Card Reliability
Because the Raspberry Pi boots from a microSD card, storage corruption remains a potential risk. If the card fails, the system may need to be rebuilt or restored from backup.
Limited for Heavy Network Usage
Households with many connected devices, frequent 4K streaming, online gaming, or large simultaneous downloads may eventually outgrow the Raspberry Pi’s networking capabilities.
Final Verdict
Using a Raspberry Pi 5 as a home Wi-Fi router can be an excellent learning experience and a rewarding DIY networking project. It offers significantly more flexibility and transparency than many ISP-provided routers while helping users better understand how home networking works.
At the same time, ISP-managed routers still provide advantages in terms of simplicity, support, and optimized performance for most households. For advanced users seeking greater customization and hands-on control, however, a Raspberry Pi router can be an engaging alternative.
Although the setup ultimately revealed some performance limitations compared to dedicated networking hardware, the project provided valuable insight into modern home networking and demonstrated how affordable hardware can be adapted for practical real-world use.
